Often, I have a little idea of something that I want to try out.
For a while, I had a lighting project/setup that I wanted to have a go at... initially just vaguely with a dancer of some kind...
In the meantime, an old friend of mine, Gem Ward, took up pole-dancing.
I saw many Facebook updates over the course of about a year of her doing these frankly amazing feats with her body and eventually I asked her if I could come and take a few pictures of her and a few of the girls in her class.
She put me in touch with Jo Dandridge, the manager and tutor at The Fitness Hangout, and we got talking.
In short, I ended up on 14th Feb arriving at their wonderful studio in Godalming with all my gear with 4 beautiful - and very strong and flexible ladies!
(As you can imagine, I had many volunteers for shoot hands!)
Gem, Jo, Karla and Jen got into their leggings and tops and Jo began warming up on the pole whilst I set up.
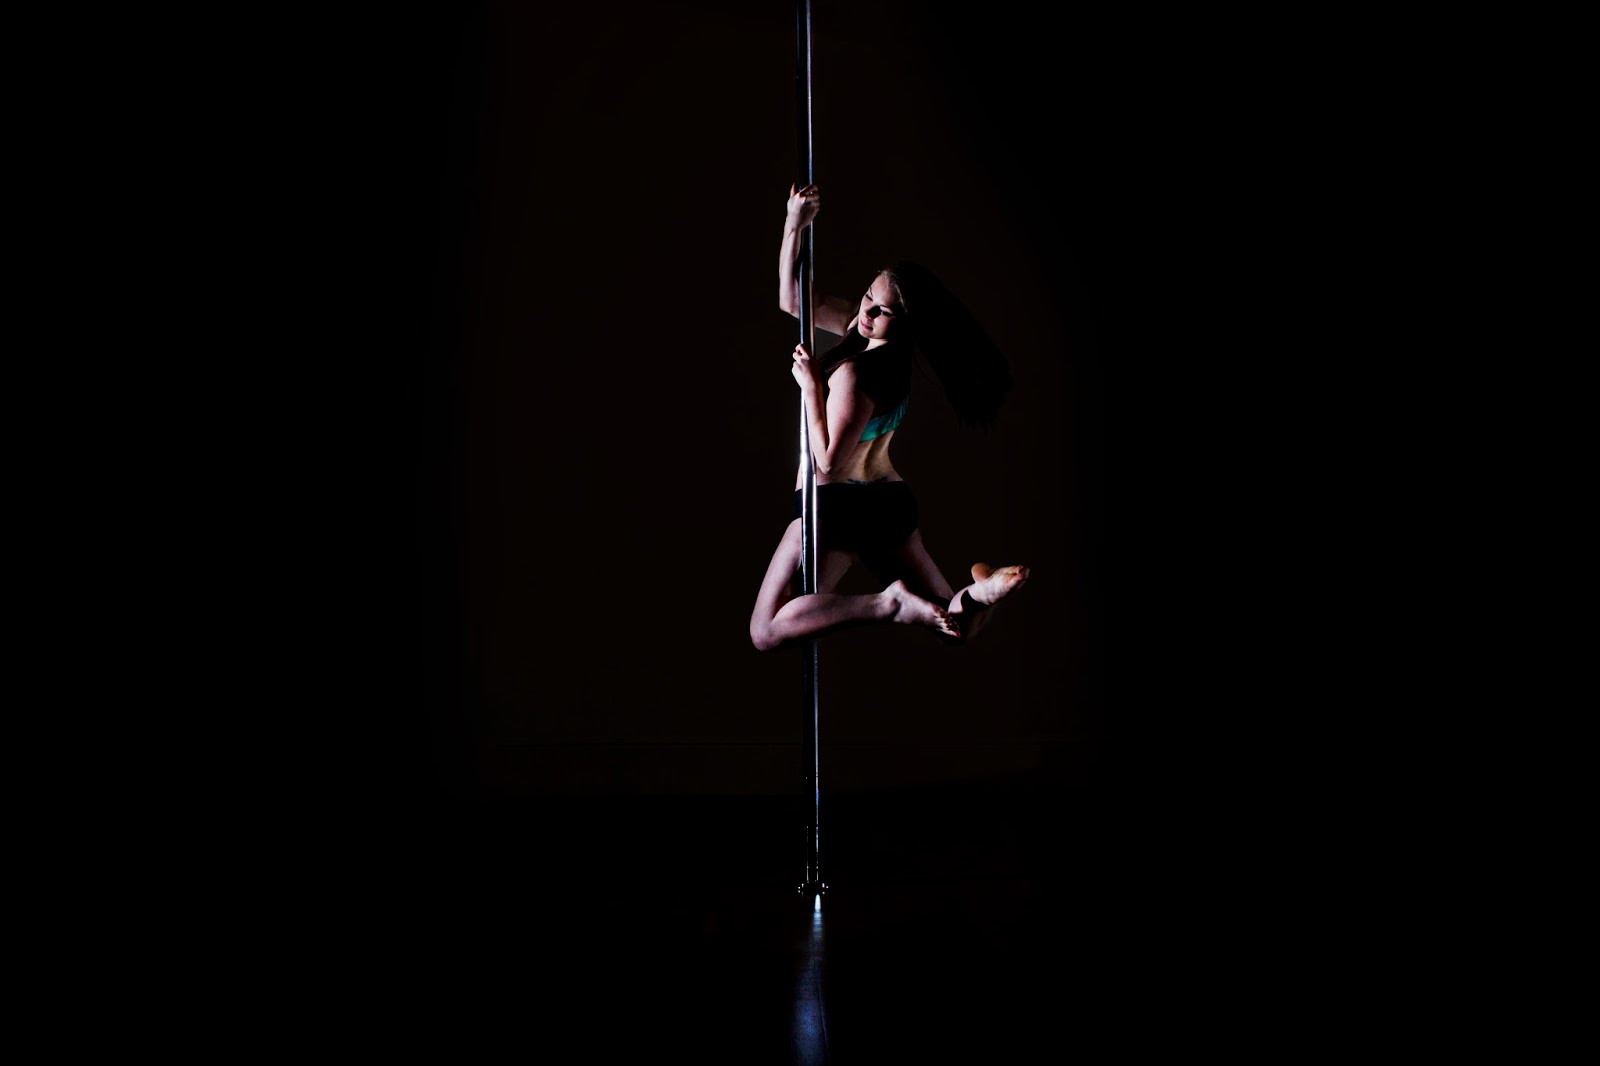
What happened next was about 2 hours of beautiful dancing. Observe.
Jo
Karla
Jen
... and Gem

All these great shapes that the ladies are throwing have some great names but I'm afraid I can't tell you at all what they are!!!
... more to come soon on hoop and anti-gravity yoga.
OK... there's so much to tell you that it's difficult to know where to start.
One piece of advice that I'd give you (as I wish I had gotten this myself) is to prioritise getting a good quality lens over a good quality camera. The quality of your pictures relies so much on the lens that there is no point getting a top of the range camera if you can not afford a top of the range lens to go with it!
Also, if you want advice on which lens to get, try to figure out what kind of photography you are most interested in and then go and use The Mighty Google for it can tell you many things that I can't. Such as that you'll want a pretty mighty zoom lens for wildlife, a macro lens for bug and pin-head close-ups and something in between for fashion!
Anyway, for advice on the kit that would best suit you and your needs, traverse the great interweb and see for yourself. Then come back and I'll tell you many secrets.
That aren't particularly secret.
So I'll start assuming that you've got your first SLR camera, complete with lens and now you're looking at how best to get started.
I think most of you will be tempted to get going and will do A Terrible Thing. This Terrible Thing is also known as putting your camera on the 'Auto' setting.
Don't do that. That is not how we learn magical things.
I'm now going to do my best to tell you, what I think, are the three fundamental settings to understand on your camera. In order of importance.
1. Shutter Speed
2. Aperture
3. ISO
These three things, in short, are all various ways of allowing the desired amount of light into the camera.
Shutter Speed
Cameras have this funky little thing called a shutter. It's called that, most probably (though I'm no expert) because it shuts.
The FASTER the shutter speed, the less the amount of light that makes it to the camera sensor and therefore the sharper the image. i.e. if you take a picture of someone jumping, a fast shutter speed will catch them in the air with no motion blur (as if they're hovering).
The SLOWER the shutter speed, the more light gets in but also, the more movement is captured in your image.
Now then, your camera's shutter speed value will be something like the following in your camera:
1/250 - a 250th of a second. That's pretty fast.
1/125 - a 125th of a second. Still pretty fast.
1/80 - an 80th of a second. Not all that fast.
1/20 - a 20th of a second. Getting pretty slow...
0''8 - 8 seconds. Really slow.
0''30 - 30 seconds. r e a l l y, r e a l l y s l o w . . .
At 30 seconds, it's so slow, you can actually take pictures of stars at this speed and they will have moved in the time it has taken to take your picture. "Ain't nobody got time fo' dat!"
At the same time, slower shutter speeds can make for creative photography.
Examples:
This is an example of high shutter speed:
My kid brother, Matthew, is not in fact a Jedi. Nor is that a Jedi training ball. He has simply thrown this ball up in the air and due to the fast shutter, the ball's movement has not been captured. Making him look like a total Jedi badass.
This is an example of low shutter speed:
... as you can see, the stationary objects such as the desk and the stairs are in focus as I used a tripod for the long shutter speed. (Trying to get this effect freehand is nigh on impossible. Tripods are your friends - and are 'cheap as chips'.) Around the stairs however, there is a buzz of movement. This is because for the whole time the shutter is open, the camera is recording everything it is 'seeing' reflected in the light.
Summary:
High shutter speed
- Fast shutter
- Images are cleaner, crisper, less blurry
- Less light gets into your image (meaning you'll have to get your light from somewhere else. Read on!)
Low shutter speed
- Slow shutter.
- Images are more blurry as motion is being captured.
- Lots of lovely light.
Aperture
So now we move onto the aperture. Unlike the shutter speed, the aperture is determined by the lens that you are using and is to set the size of the 'opening' within your lens. Simply put, the aperture determines how wide the hole is inside your lens when your picture is taken.
Now in a similar way, the smaller the aperture (the smaller the hole), the less light can get in and the wider, the more.
The difference is, instead of deciding whether there is motion blur by letting in more light, the aperture actually determines how much of your image is in focus depending on it's distance from your subject, known as the 'focal plane'.
This is known as the 'depth of field'.
The aperture, both when purchasing a lens and when setting the value from the camera itself is measured in 'f-stops' and will look like this:
f/1.2 - This is considered to be a top of the range feature as this aperture is pretty much as wide as it gets with today's lenses at the moment.
f/2.8 - This is a good aperture for a lens to get up to. Still useful
f/3.5 - This is getting pretty average and it's a poor maximum aperture for anyone wanting to work outdoors and with natural light.
f/8 - Only useful in extreme sunlight or studio.
f/11 - Only for use in big, bright studio. No light for you.
It's worth just mentioning in case I'm losing you here, that the smaller the f-stop value, the larger the aperture. Just to confuse you. ;)
When buying a lens, the lower the f-stop value, i.e. the wider the aperture, the more freedom you will have with the lens. That's why lenses with f/1.2 - f/2.8 are sickeningly expensive. Especially on zoom lenses.
Example of wide aperture:
Here, Leela's barely in focus outside of the range of her facial features. This is because the aperture is so wide and the focus was on her face. This is an example of a narrow depth of field and where this blur outside of the main focus point is severe, this is often referred to as "bokeh". Which, I remember looking up once and apparently, this is just from the Japanese word for blur.
So if someone comments on your Flickr image to say "Good bokeh" - you've done it right.
Example of narrow aperture:
In this image, practically everything is in focus. Because the aperture was narrower. This image also contains a very awesome tree. This was one of the first things I ever photographed (y'know, properly). :)
Good times.
ISO
ISO is a tricky beast. It stands for... *Googles*... OK well a lot of the people on Google have clearly Googled the term themselves and are claiming that it stands for "International Organisation for Standardisation" - but I happen to know that this is not what it stands for and they have instead looked up ISO accreditation... which is not the same thing. Stupid internet people.
OK. Forget what it means, that's not important. What's important is what it does.
What it does is it increases or decreases the sensitivity of the light sensor in your camera. A higher ISO is more sensitive and therefore increases the amount of exposure your image has to the light. The problem with a higher ISO is that it creates a more grainy image (graininess on a digital photograph is also referred to as 'noise' - useful tip when learning to edit) and for this reason, I always advise people generally that the last thing you want to compromise is your ISO because nobody but nobody wants a grainy or noisy image most of the time.
Your ISO range is determined by your camera body again, rather than your lens and in your camera settings it will look a bit like this:
100 - Bloody good ISO. Nice and crisp. No image compromise.
200 - Still bloody good.
400 - Yeah, still OK.
800 - Getting a bit of noise. Not too bad. Still workable.
1600 - :/
3200 - Christ, that's grainy.
6400 - Why did we ever go up to this setting? It looks awful. Canon, Nikon - Stahp!
Here is an image using a nice low ISO:
... Not a grain. Though I was only able to use the low ISO because I was in the studio. This is the ISO on it's lowest which isn't really possible unless you're using studio lights or bright sunlight for a light source.
Here's an image using a higher ISO:
May not look that bad from here but look at the quality difference:
Now there's no question. Am I right?
So, that's hopefully a useful start to shutter speed, aperture and ISO.
A few hints and tips for you:
If you don't want to go straight in at 'Manual' on the camera (though I always recommend throwing yourself in at the deep end, only you truly know if you can swim) there are two other functions that may help you get the hang of things.
Av: This is Aperture Priority. You set the aperture that you wish to shoot at and the other two settings will automatically accommodate to get the best lighting for you.
Tv: This is Shutter Priority. Same principle, this will let you decide what shutter you'd like to shoot at and the other two will accommodate the others automatically.
M: This is boss-mode. You decide the everything. But you hopefully won't accidentally end up with some grainy-ass images by mistake as normally, letting the ISO do what it wants means that it wants to get into the limelight and get as high as possible.
Best practise... decide whether you need crystal clear images or some 'good bokeh', etc and then, when you've compromised on shutter speed or aperture as much as you are willing, then and only then can you let the crazy ISO beast out of it's cage.
Practise makes perfect. Go out for the day with your camera and go nuts. Stick that bad boy on manual and take about a million shots that you never want to see again - but get that one that you're so proud of that you set it as your desktop background. Because you took that all by yourself. Clever thing.
:)